Repairs · Henry Farm
Garage Door Bottom Seal Replacement in Henry Farm
After a spring rain there is a puddle inside the door that reaches the tires.
In plain words
In this climate the bottom seal lives a hard life. Meltwater from the car pools at the threshold and freezes the seal to the slab, and the next press of the remote tears it or drags it out of its channel. Road salt stiffens the vinyl and eats the aluminum retainer; deep cold turns a supple strip rigid. Replacement puts a cold-rated profile on a sound retainer, sized to meet the floor without over-compressing, and the technician shows how a wipe of silicone each autumn and a clear threshold keep the new strip from bonding to the ice. The door closes softly onto rubber again, not onto a frozen ridge.
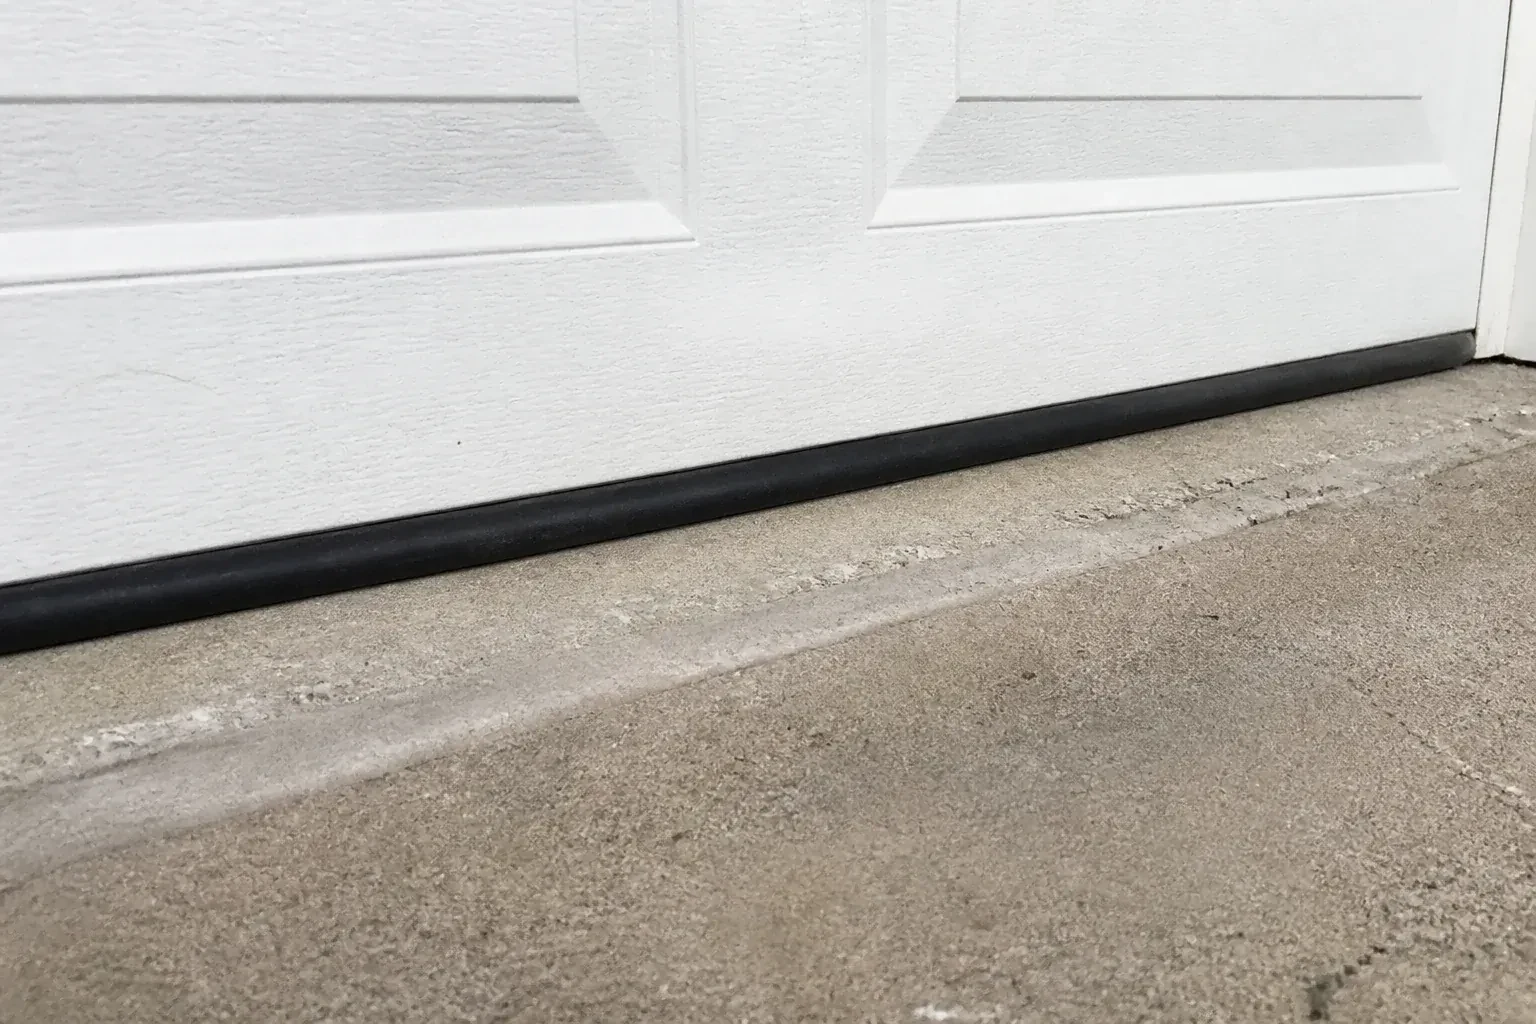
How the visit goesThe strip under the door has gone as hard as a hose left out for ten summers. Press it and it does not give; bend it and it cracks. Where the door meets the floor it sits on the concrete without squashing at all.
Garage Door Bottom Seal Replacement
How the visit goes
Which retainer and which profile
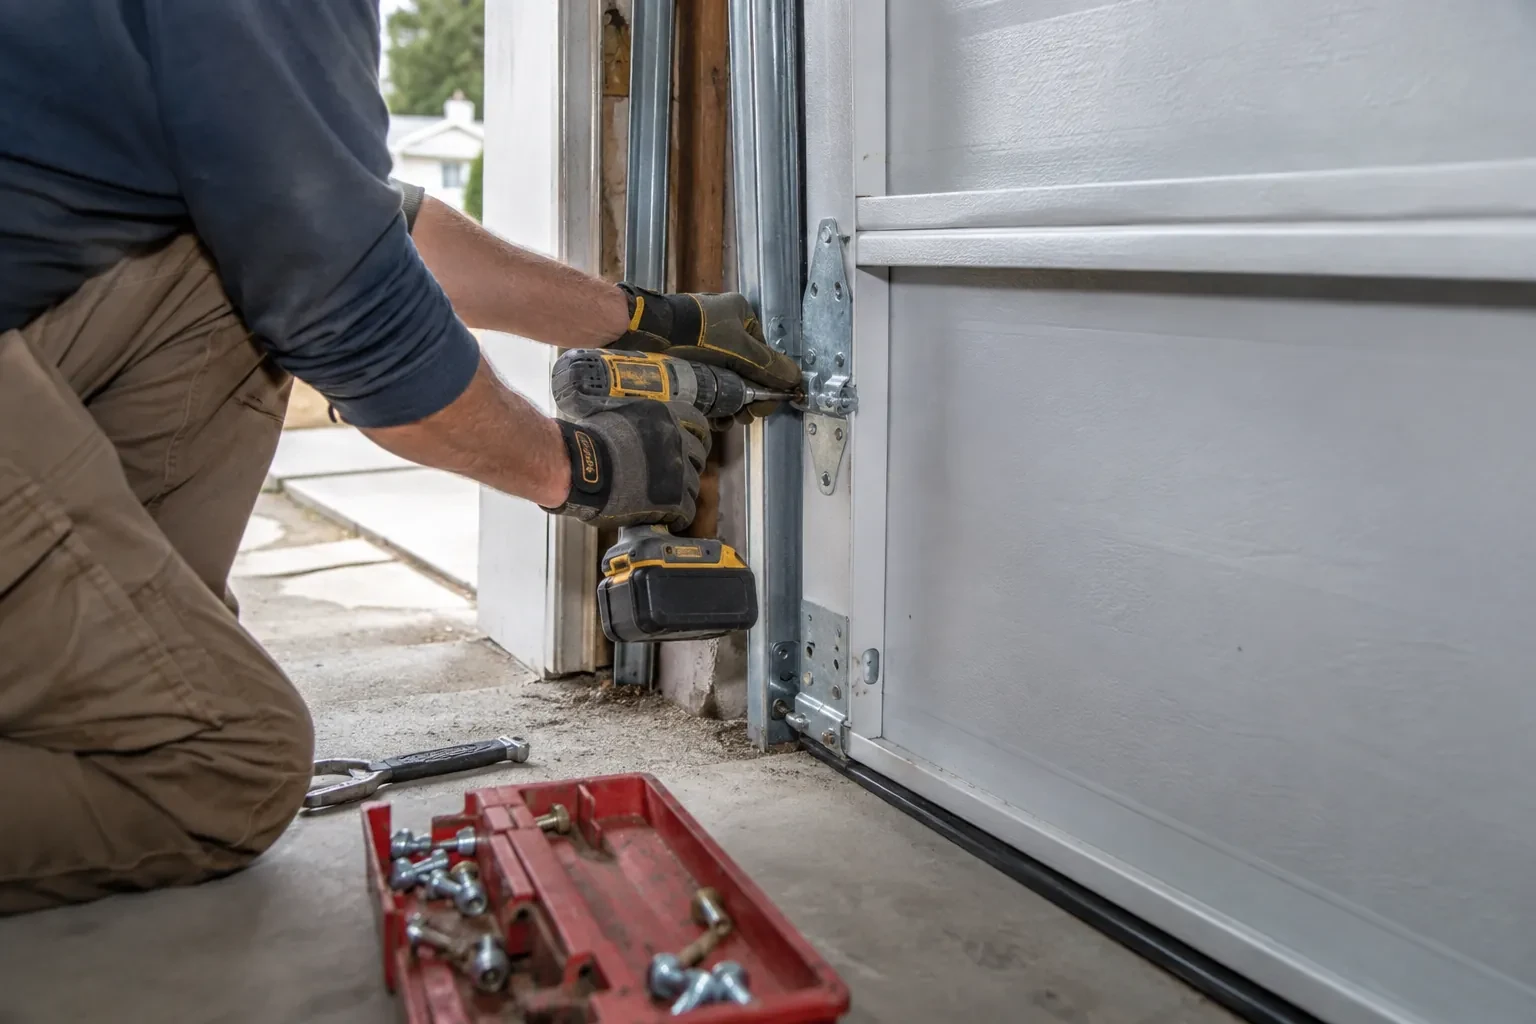
Next the retainer along the bottom rail is identified. Most steel doors carry an aluminum extrusion with two channels that take the T-shaped or beaded edges of a U-shaped seal; some insulated doors have the channel moulded into a plastic bottom cap; older doors may have a single channel; wood doors often have a strip nailed straight to the rail. The technician measures the channel spacing and the T or bead size, checks the door width, and notes the height of the old strip. A seal chosen from these measurements slides in cleanly and holds, which is the difference between a replacement that lasts and one that works loose.
Closing the door onto the new seal
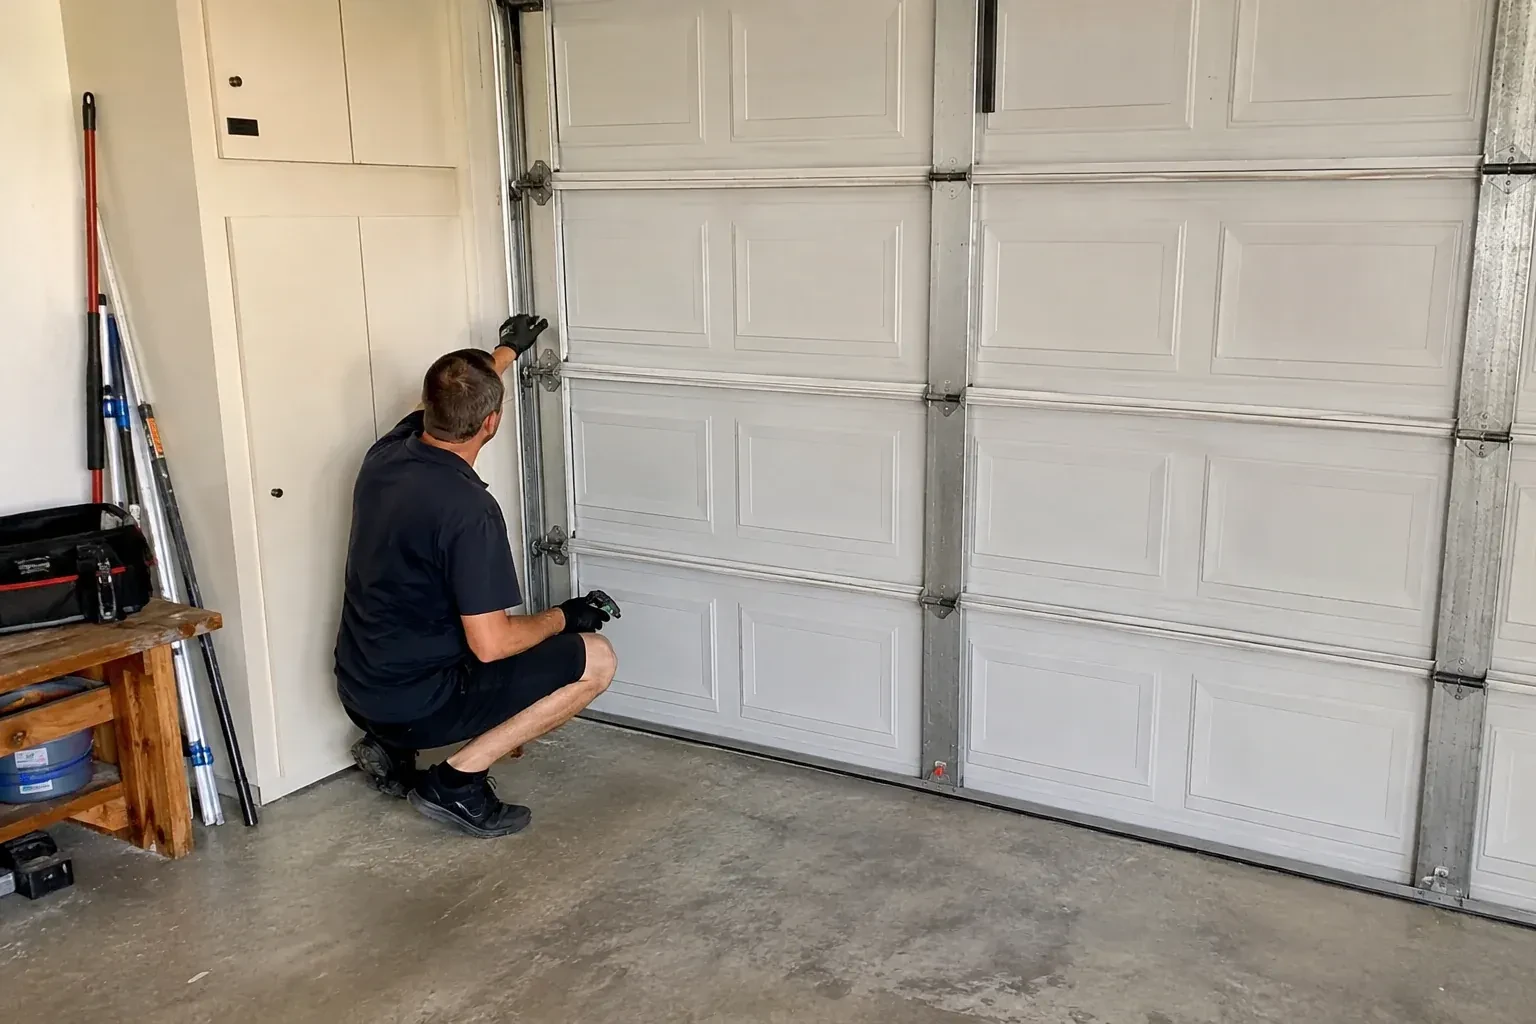
The clamps come off, the opener is reconnected, and the door is run closed under power while the technician watches the bottom edge meet the floor. The down limit is adjusted so the seal compresses gently along its full length without the section bowing, and the force setting is checked so the door settles onto the new, taller strip without reversing. From inside with the lights off, the floor line is checked again for daylight. The reversing test with a 38 mm (1.5 in) solid object, or a 2x4 laid flat under the door, and the photo-eye test finish the visit, and you are shown the door closing before the ladder is packed.
What to look for each season
Once a season, close the door, turn off the lights and look along the floor. You are checking for a line of daylight, a corner where the seal hovers, an end that has slipped from its channel, and cracks along the fold of the bulb. Run a hand along the strip for stiff or brittle patches. Then watch the door close under power once and notice how it lands. A change in any of these is worth a call while the fix is a seal or an adjustment rather than a torn strip dragged through a winter. The check takes less time than reading this paragraph.
Garage Door Bottom Seal Replacement
In the van
Self-drilling retainer screws
Wire brush and scraper
Threshold seal and adhesive
T-style bottom seal
Nail-on vinyl strip for wood doors
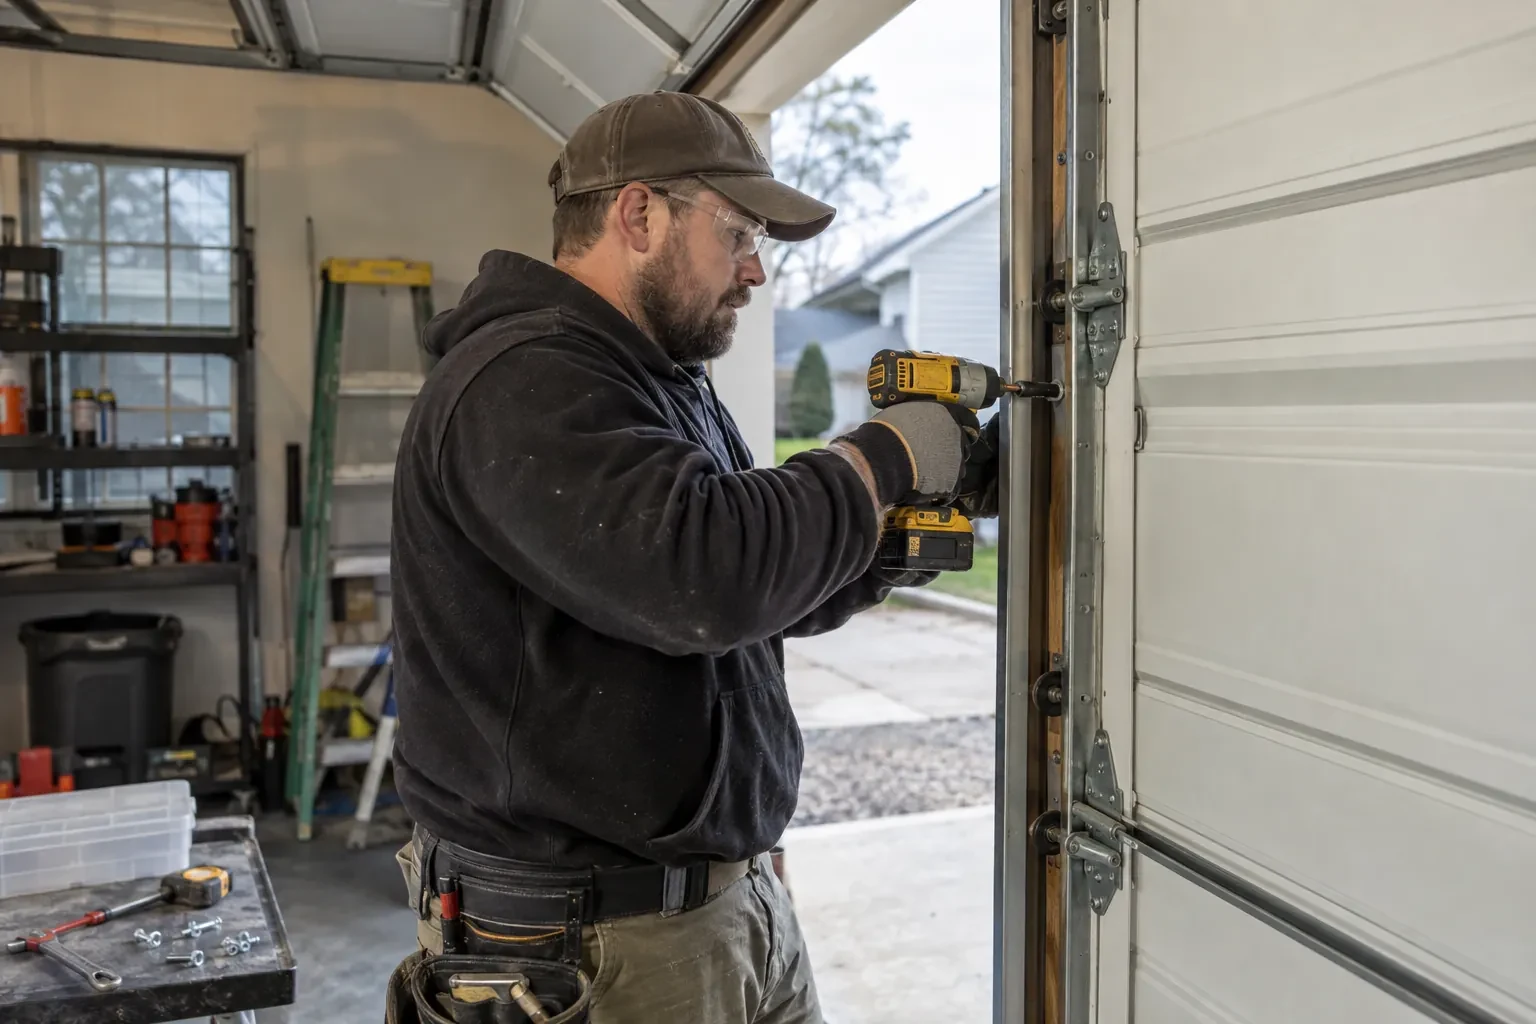
Garage Door Bottom Seal Replacement
What affects the quote
Threshold seal added
Where a floor threshold is recommended, its length, its type, whether rubber or aluminum-backed, the adhesive and the floor preparation before it is laid appear as a line of their own.
Floor and threshold shape
A dished, sloped or heaved slab may call for a taller bulb profile or a threshold seal on the floor, each of which is quoted as a separate choice you can accept or leave.
Condition of the old seal
A supple strip slides out in a minute. One that has hardened and seized in its channel, or been torn and frozen into the corners, has to come out in pieces, which takes longer.
What to have ready
- Have you seen mice or droppings in the garage?
- Does the door stop short of the floor or reverse before it closes?
- What is getting in: light, drafts, water, snow, leaves or pests?
Garage Door Bottom Seal Replacement: questions
QuestionsHow can I tell that the bottom seal needs replacing?
Close the door, turn off the lights and look along the floor from inside. Daylight showing, a strip that feels hard or cracks when pressed, a bulb that has flattened and stays flat, an end hanging out of its channel, chew marks or missing pieces are all signs. So are leaves, snow or a puddle inside the door after weather. Any one of these means the seal has stopped doing its job.
How long should I allow for the work?
Plan on an hour or two for a straightforward replacement on a standard door, including the inspection and the opener reset. A retainer replacement, a hardened seal that has to come out in pieces, a wood door with a nail-on strip or the addition of a threshold seal each add time. The technician will give you a realistic window once the door has been looked at.
Does the opener need adjusting after the seal is changed?
Usually, yes. A new seal is taller than the flattened one it replaces, so the door reaches the floor sooner. Left alone, the opener either presses too hard and bows the bottom section or senses the resistance and reverses. The technician resets the down limit so the seal compresses gently, checks the force, and runs the reversing test with a 38 mm (1.5 in) solid object or a 2x4 laid flat under the door so the safety features still behave as they should.
Related services
- Garage Door Tune-UpThe door lands with a thud you can feel through the kitchen floor, and sometimes it bounces back up a few centimetres before settling.
- Off-Track Garage Door ResetA delivery van backed into the shop's overhead door this afternoon.
- Garage Door Panel ReplacementA stray ball went through one of the window panes in the top section.