Repairs · Toronto
Garage Door Safety Inspection
You moved in three months ago.
In plain words
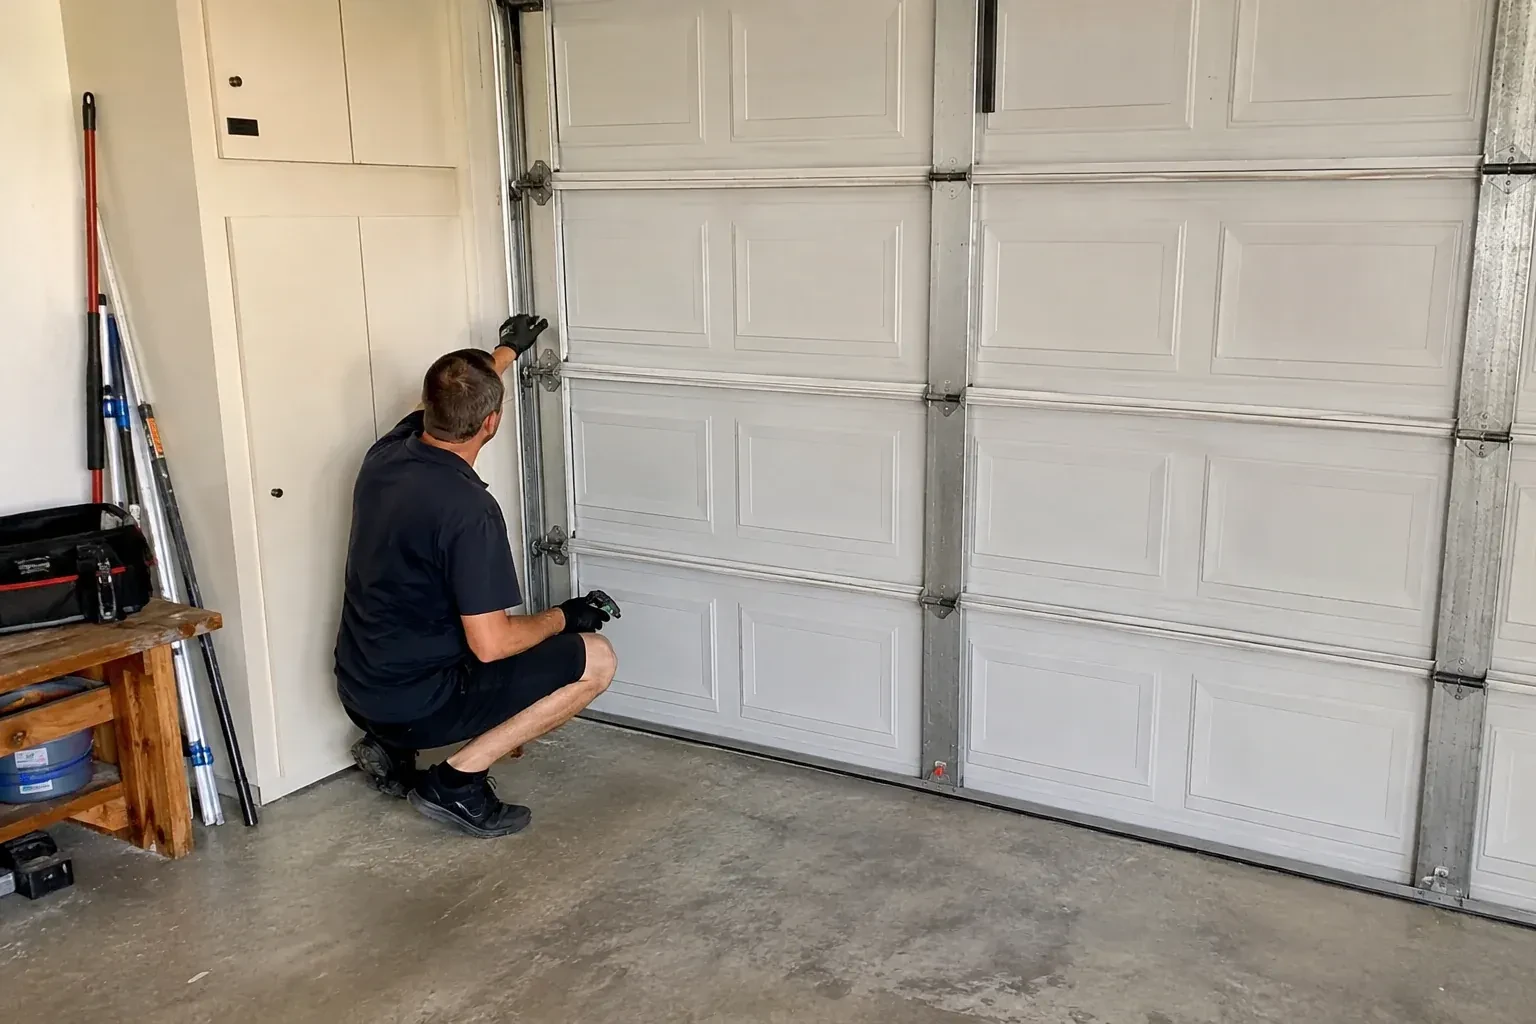
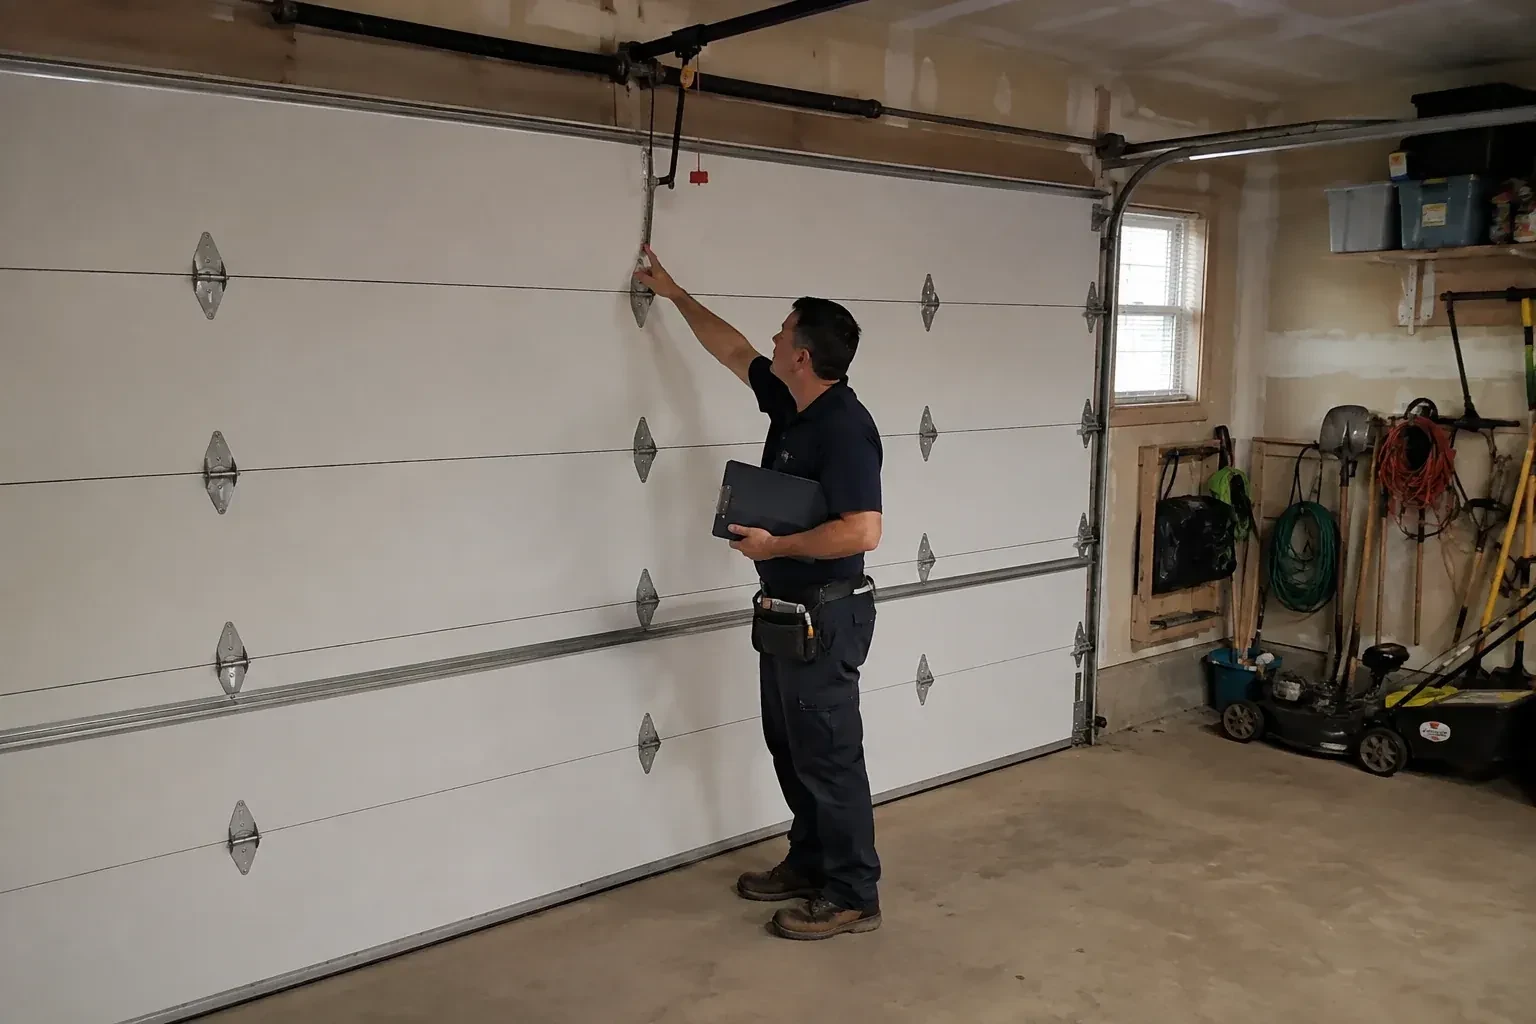
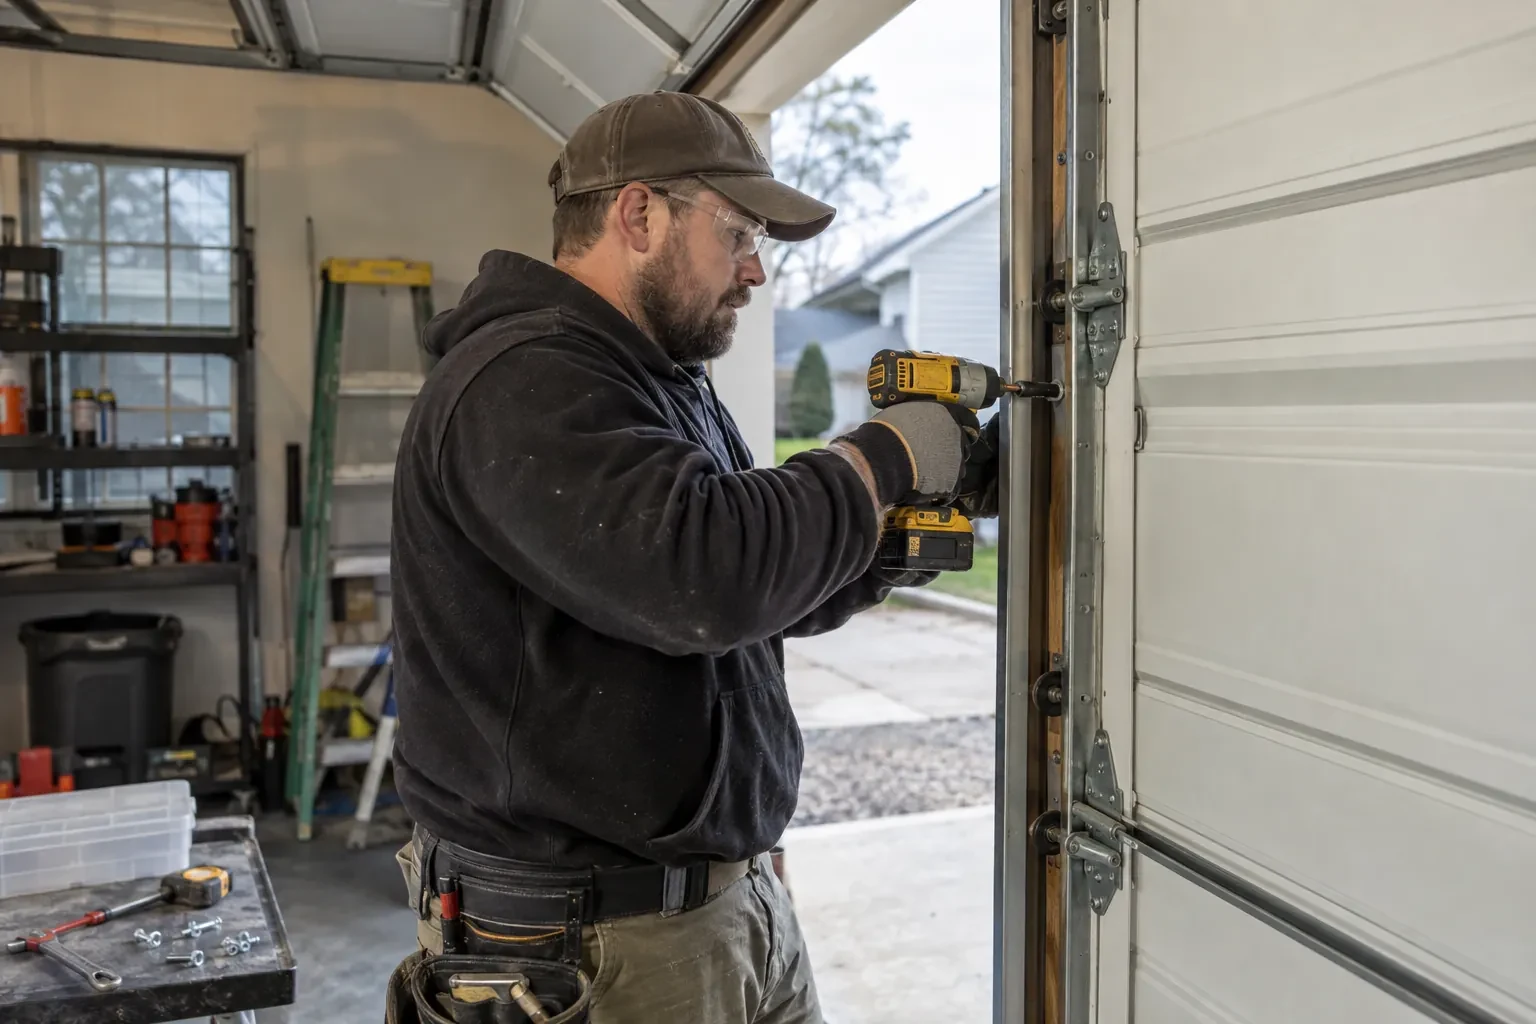
The visit runs in a settled order. First the door and opener are identified and the right test procedure looked up. Then a visual walk of the closed door, from the top section down to the bottom seal, and along both tracks. Next a full cycle under power while the technician listens and watches. Then the opener is disconnected for the manual balance check, reconnected for the reversal and photo-eye tests, and the controls, release cord and mounting brackets are checked. Finally the findings are explained at the door and written up, so you know exactly where the door stands before anyone leaves.
How the visit goesA tenant mentioned the door is louder than it used to be. From the driveway it looks fine, but on closer inspection the hinges near the floor are streaked orange and one roller wobbles as it turns.
Garage Door Safety Inspection
How the visit goes
The opener head, its arm and its safety devices
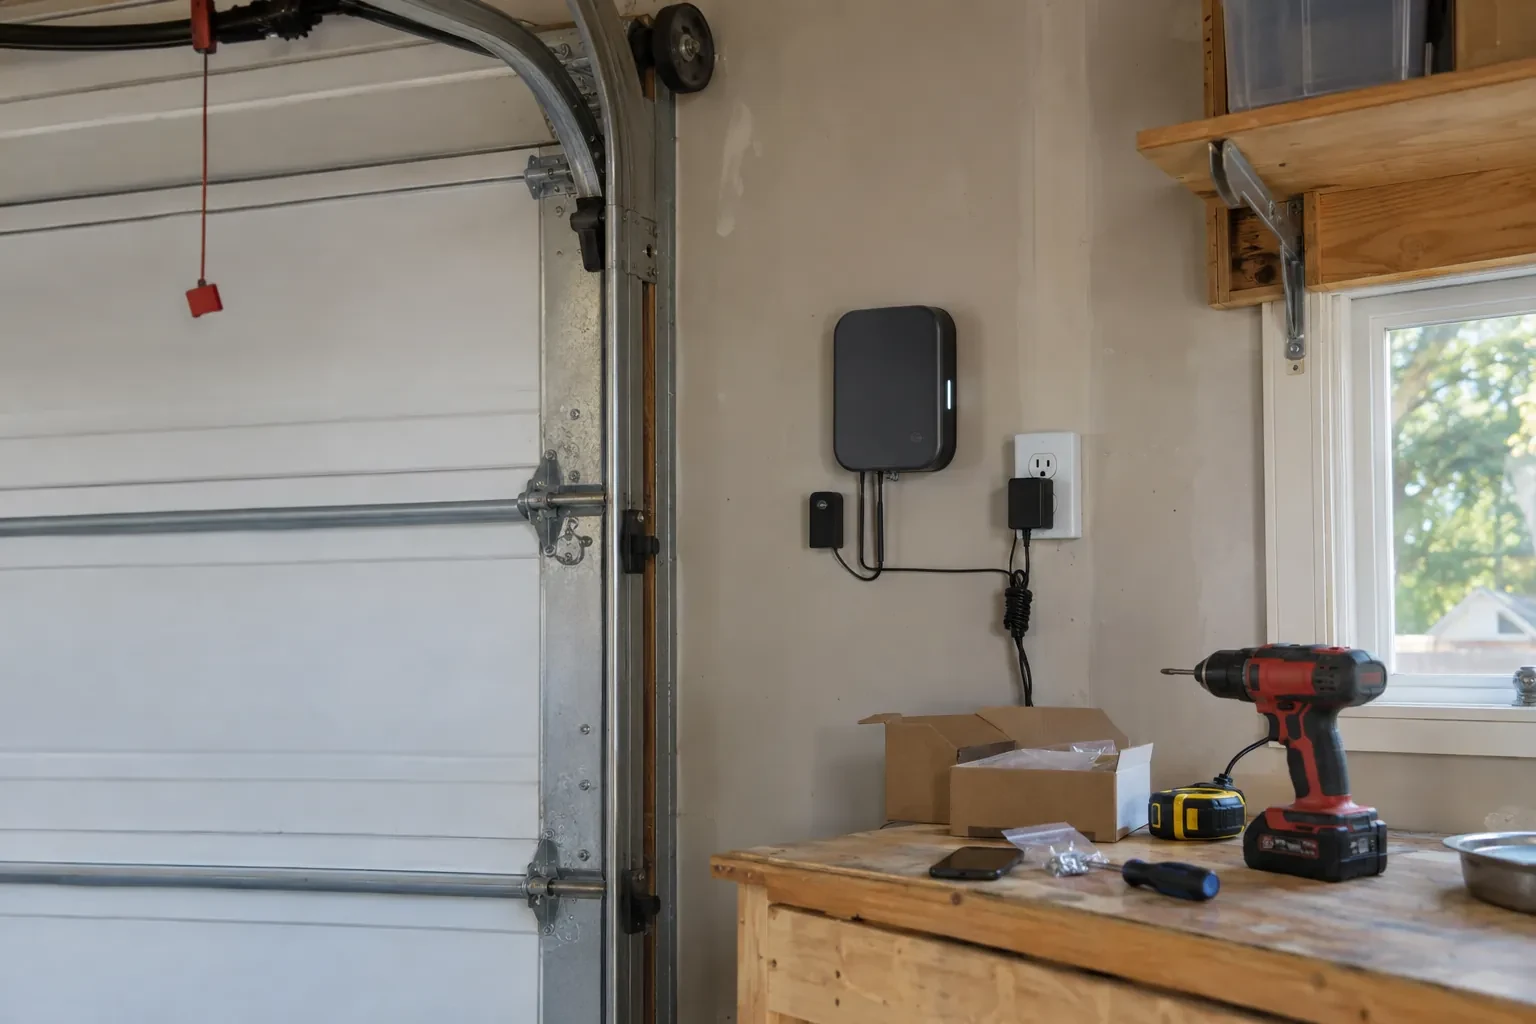
Turning to the opener, the technician checks that the motor head is secure on its hangers, the rail is straight and its header bracket firmly fixed, and the curved arm meets the door at a bracket that is bolted to a reinforced section rather than thin steel. The chain, belt or screw drive is looked at for slack or wear. The photo eyes are located, their height above the floor noted, their lenses and wiring checked, and the wall control, remotes, keypad and lock or vacation button are each identified so they can be tested in turn. This is also where the manual release cord and handle are confirmed to be within reach and in working order.
Sorting the findings at the door
Before packing up, the technician walks you through what was found, in front of the door so each item can be pointed at. Findings are sorted into four groups: in good order, maintenance, planned repair, and stop-use. For each repair, you hear what the part does, why it matters and roughly what the work involves, so you can decide in your own time. If anything falls into the stop-use group, you are shown the reason and the door is left in a safe position with the opener disconnected until that item is corrected. The written record follows, with the model numbers, the measurements and the photographs.
Three checks you can repeat each month
The inspection leaves you with a short routine. Once a month, with the door closed, pull the release cord and lift the door by hand; it should move easily and hold at waist height. Reconnect the opener, lay a flat board on the floor and send the door down; it should reverse when it touches. Then start it closing and wave a broom handle through the photo-eye beam; it should reverse before contact. Each of these takes under a minute and mirrors what the technician did. If any of the three behaves differently from the day of the inspection, that is the moment to call, while it is still a small job.
Garage Door Safety Inspection
In the van
Replacement hinge and track fasteners
Camera for findings
Spring and cable gauges
Tape measure and level
Inspection checklist and report form
Garage Door Safety Inspection
What affects the quote
The kind of report you need
A plain findings sheet suits most households. A photographed, measured report for a sale, a rental file or a property manager takes longer to prepare and is quoted as such.
How many doors are on the property
Each door and opener gets its own inspection and its own record. Two doors in one visit share the travel, but the checks are done in full on both.
Small parts replaced on the spot
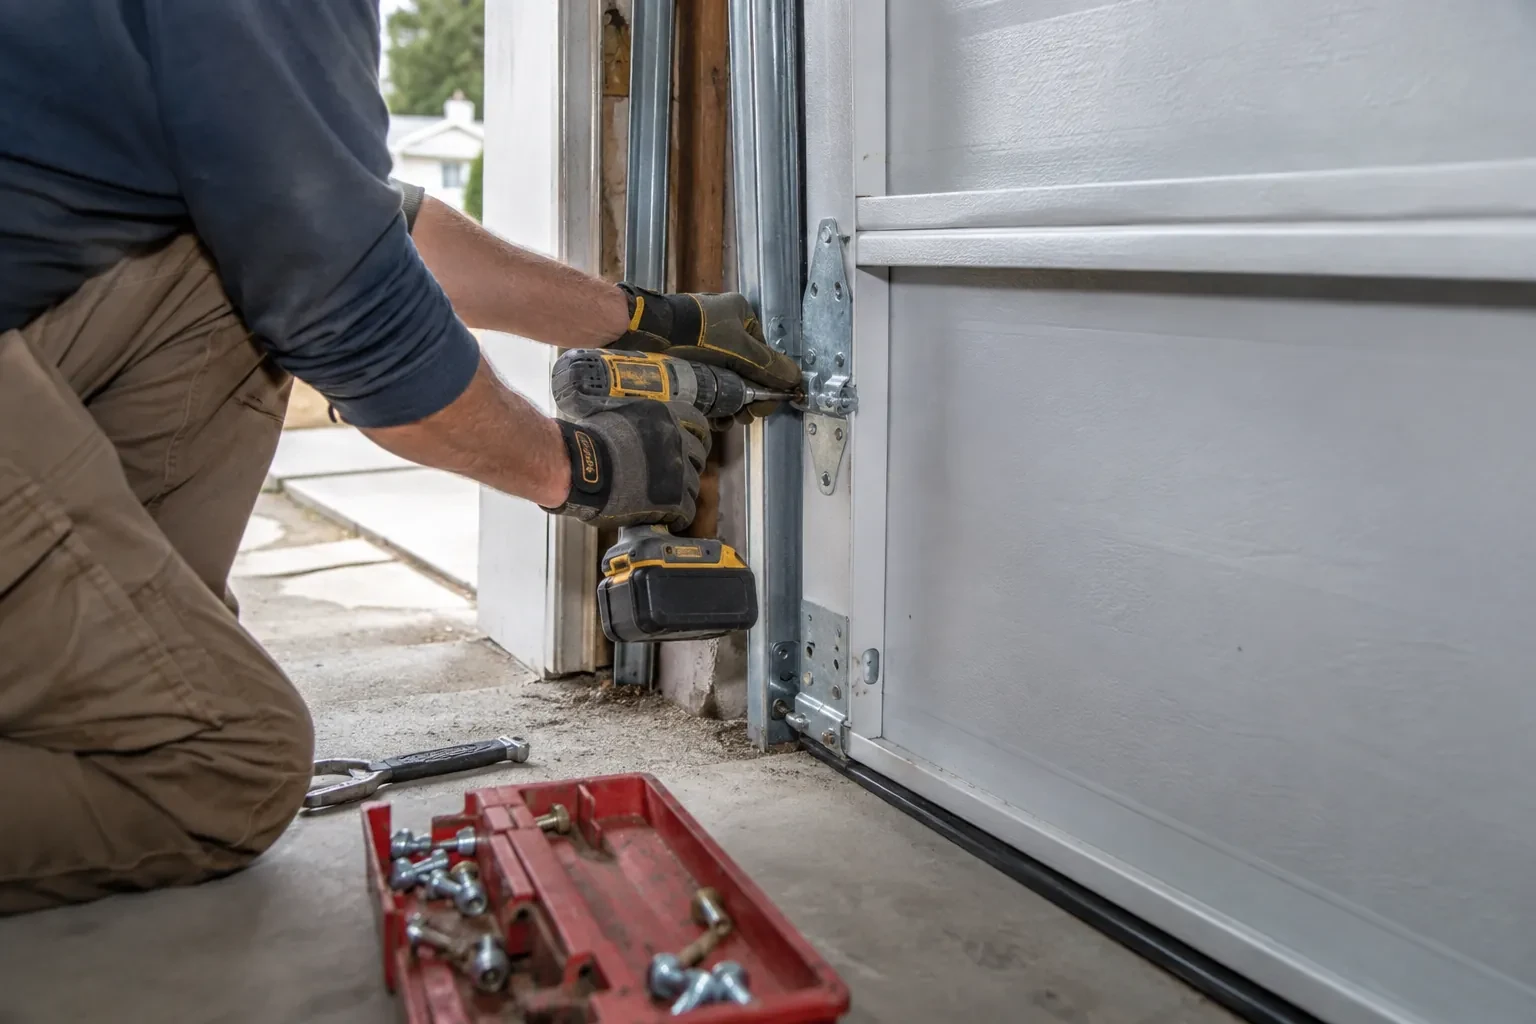
A missing hinge bolt, a stripped track lag or a remote battery can be replaced from the van. Parts fitted this way are listed individually rather than folded into the inspection.
What to have ready
- Does the door sound or move differently going up than coming down?
- How many remotes, keypads and wall buttons operate the door?
- Do you have the door and opener manuals?
Garage Door Safety Inspection: questions
QuestionsDoes winter change what you look for?
Yes, mostly at floor level. Months of slush and road salt reach the lowest hinges, the bottom brackets and the loop of each cable before anything else on the door, so those get a close look for rust. The technician also checks whether the bottom seal has been freezing to the slab, how the drive has coped with cold, stiff starts, and whether frost or salt film has been blinding the sensors near the floor.
My opener is old and has no photo eyes. Can it still be inspected?
Yes. Older openers rely on contact reversal alone, so the board test carries more weight and is run carefully against the maker's procedure, along with the manual balance check, the force setting and the release. The report records what the opener has and how it performed. An opener built before photo eyes became standard is flagged for replacement in the report, since makers recommend moving off that generation of opener rather than treating photo eyes as a nice-to-have.
Can I do these checks myself between visits?
The three owner checks, yes: the manual balance test from the closed position, the board test for contact reversal and the photo-eye test with a broom handle through the beam. Industry guidance recommends all three monthly. What stays with a technician is anything that involves loosening, winding or unhooking springs, cables, drums or bottom brackets, and any adjustment to the opener's force settings.
Related services
- Off-Track Garage Door ResetA delivery van backed into the shop's overhead door this afternoon.
- Garage Door Panel ReplacementA stray ball went through one of the window panes in the top section.
- Garage Door Bottom Seal ReplacementAfter a spring rain there is a puddle inside the door that reaches the tires.