Openers · Wexford
Smart Garage Controller Setup in Wexford
A contractor is coming to work in the garage on Thursday while you are away.
In plain words
A door you can close from across town is a door you cannot see, and the operator standard treats that seriously. Any command sent from out of sight must be preceded by a warning: the controller sounds a beeper and flashes a light for several seconds before the door moves, and the door must have working photo eyes at the floor. The setup visit confirms both. The technician checks the sensors, tests the remote close so you hear it yourself, and runs the door onto a 2x4 to prove it reverses on contact. Convenience is added on top of those two safety behaviours, not in place of them.
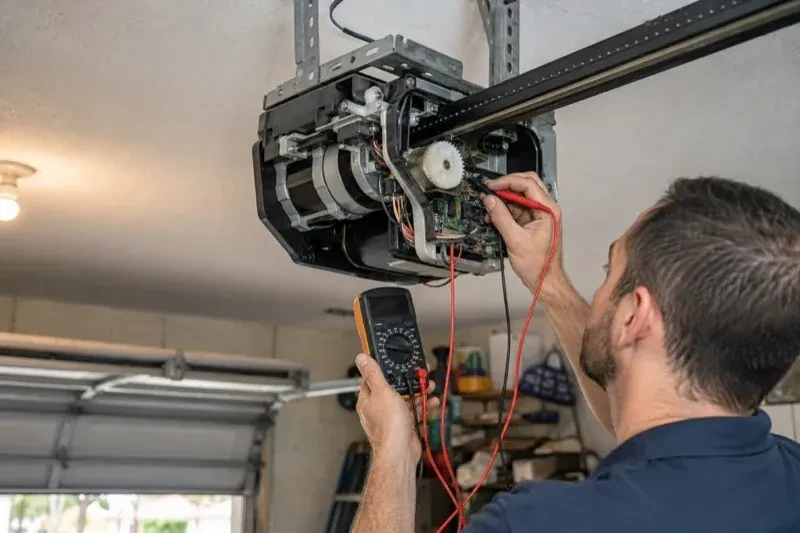
How the visit goesThere is a wireless symbol printed on the opener above the car, and the manual mentions an app, but the head unit has never been connected to anything. You downloaded the app once, it asked for a serial number and a network, and the moment passed.
Smart Garage Controller Setup
How the visit goes
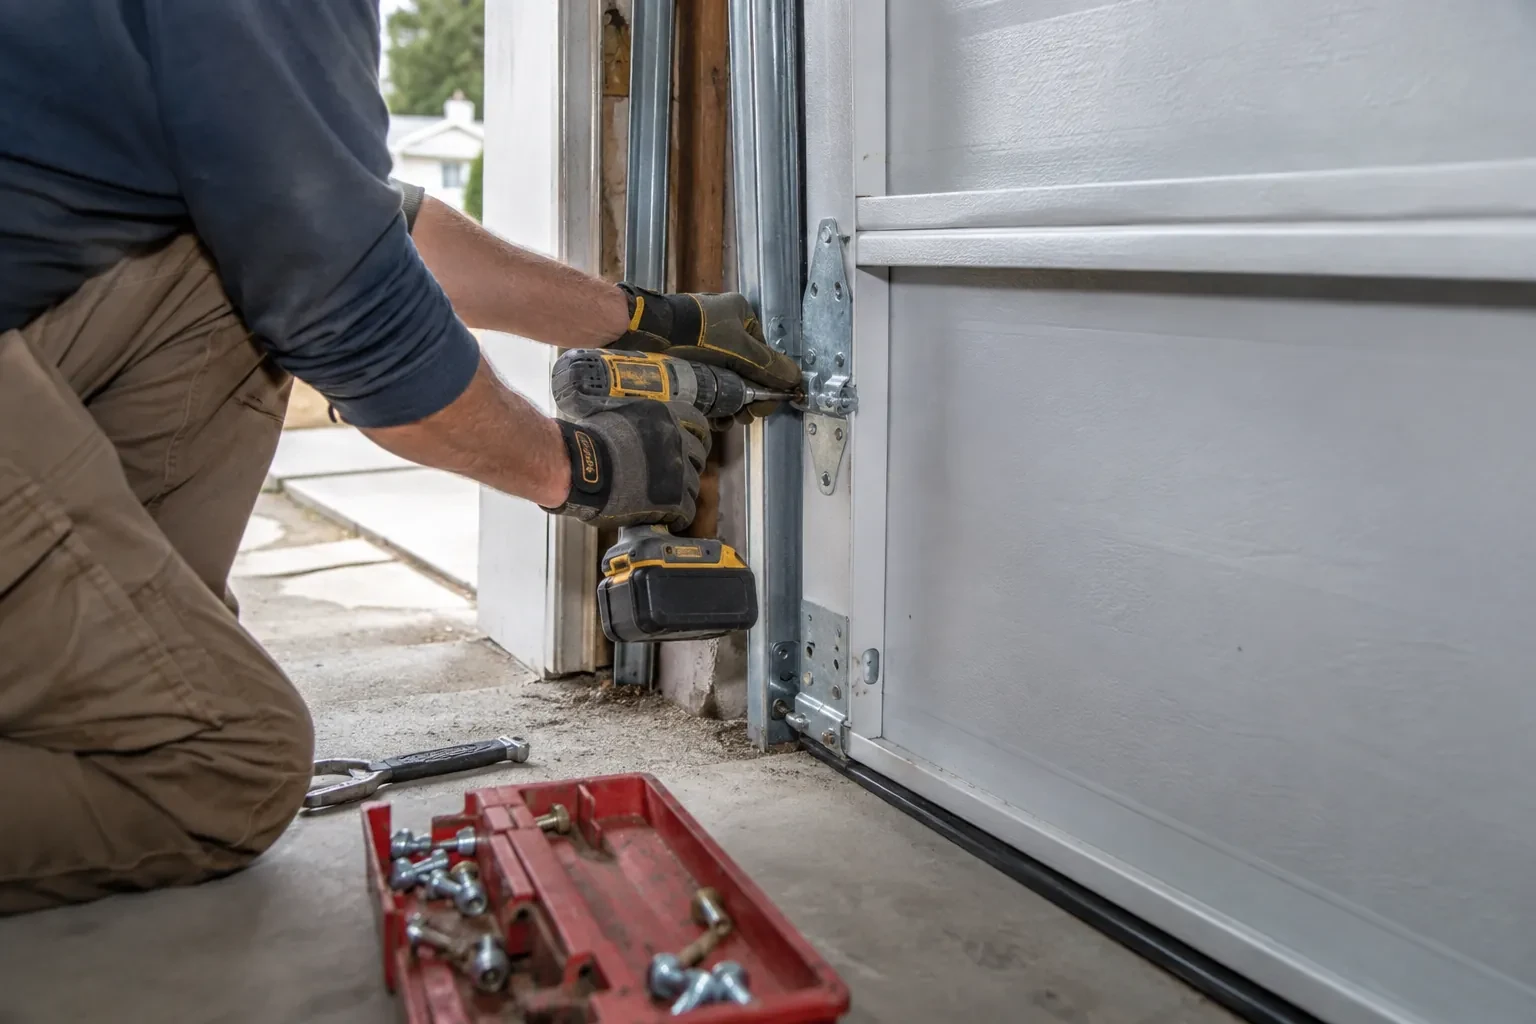
Power and a home for the hub
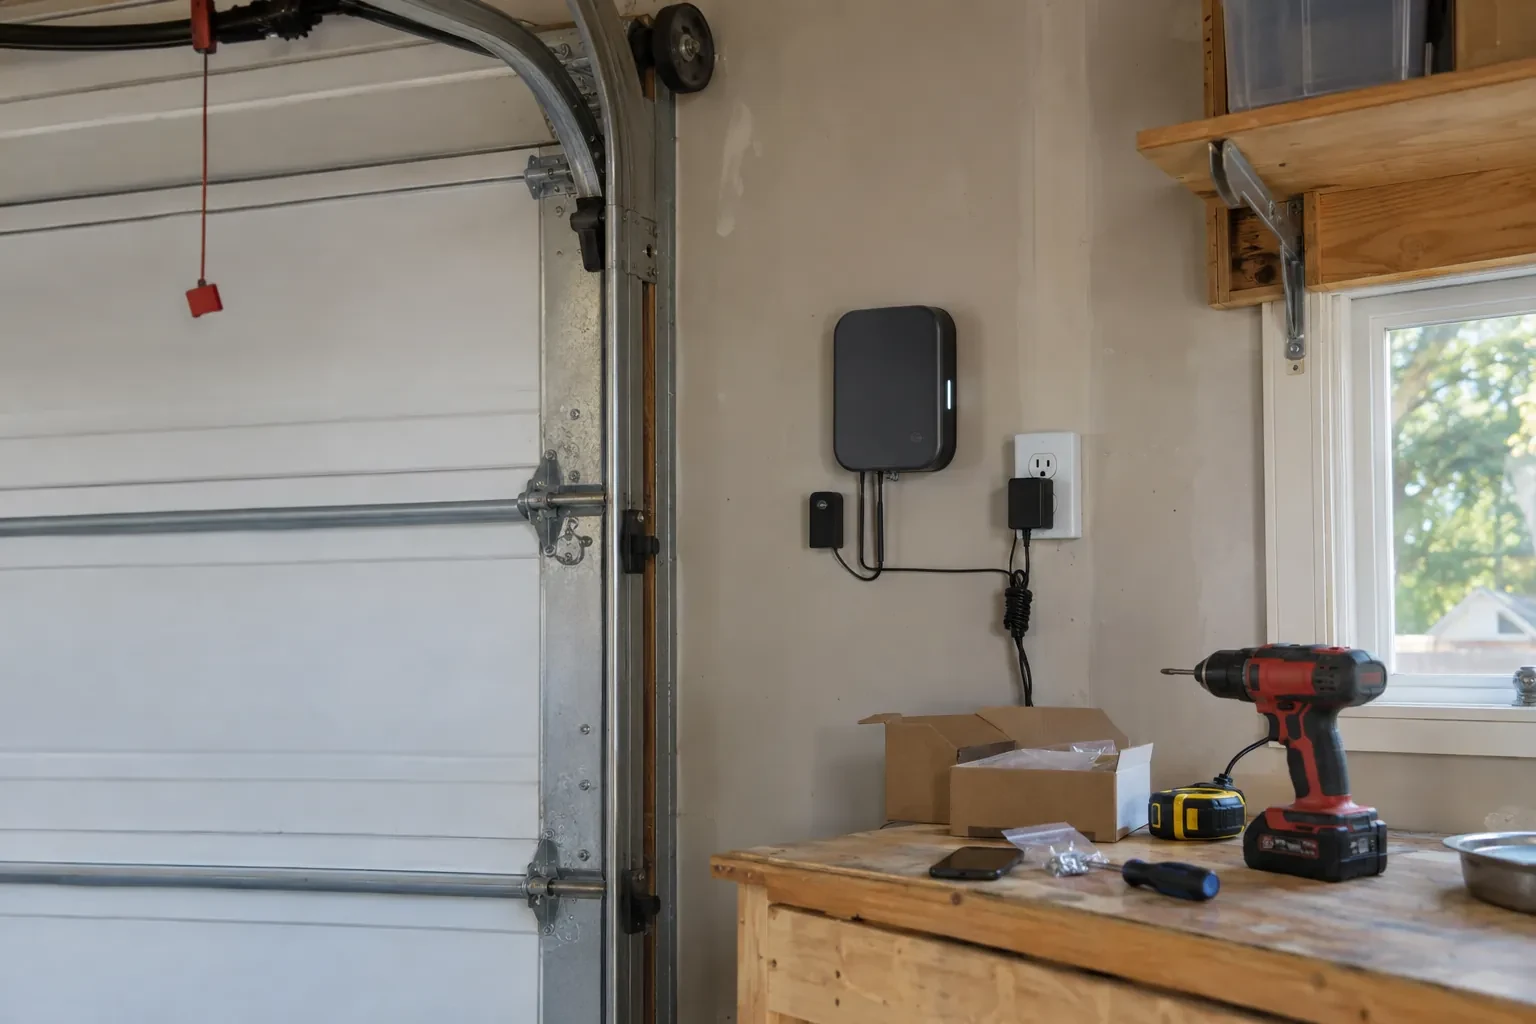
Retrofit hubs draw their power from a plug-in adapter, so the technician looks at the ceiling receptacle the opener uses: is there a spare socket, is it live, and does the adapter's cord reach a mounting spot with a clear line to the door sensor? The hub is placed within a few metres of the door so its own short-range link to the sensor stays solid, and away from the trolley and chain. If the receptacle is full, an approved splitter or a second receptacle installed by an electrical contractor is discussed. The adapter itself is checked for a recognized Canadian approval mark before it is plugged in.
Switching on a built-in radio
When the opener has its own wireless radio, the work is mostly done at the head unit. The technician puts the opener into its pairing mode, usually by a button press or a sequence on the wall console, which broadcasts a temporary network the phone can see. Through the app the owner selects the home network and enters its password; the opener joins, its indicator turns steady, and the serial number from the label registers the device to the owner's new account. The technician then runs the door from the app and from the wall button to confirm position reporting matches the real door, and applies the firmware update the app offers before moving on to alerts and users.
Looking after the sensor battery
The door sensor runs on a small battery, typically a coin cell or a pair of cylindrical cells, that lasts a year or two in a heated garage and somewhat less in an unheated one. The app shows a battery indicator and sends a warning as it runs down, so it is rarely a surprise. Replacing it is a small job: pop the cover, swap the cell for the same type the maker specifies, and cycle the door once so the hub hears from the sensor again. Keeping a spare in a kitchen drawer means a low-battery notice on a Sunday morning is a footnote rather than a stopped feature.
Smart Garage Controller Setup
In the van
Replacement photo-eye pair
Retrofit smart hub
Receptacle splitter with approval mark
Low-voltage bell wire
Plug-in power adapter
Smart Garage Controller Setup
What affects the quote
Ceiling height and access
A standard garage puts the head unit and the top door panel in easy ladder reach. High ceilings, storage lofts or a car that cannot move add setup time.
The opener's generation
Some openers accept a two-wire connection at the wall-control terminals; others use encrypted consoles and need radio pairing or a small adapter between hub and opener. The learn button and label decide which.
Alerts, schedules and integrations
A left-open alert and a nightly schedule are standard. Linking the door to other smart-home systems or setting up several schedules is additional configuration.
What to have ready
- Which email address should the account be created under?
- Is there an existing controller on the ceiling from a previous owner?
- How strong is your phone's Wi-Fi signal when you stand under the opener?
Smart Garage Controller Setup: questions
QuestionsWhat should I have ready before the visit?
A photo of the label on the opener and of the learn button, your Wi-Fi network name and password to hand, the phone you will use with the app charged and updated, and the email address the account should live under. If the house came with an existing controller, any paperwork or the seller's contact details help. Knowing which family members need access saves time at the end.
What does the colour of the learn button tell you?
On many openers the learn button's colour marks the generation of radio coding the unit uses, which decides how a hub can talk to it. Some generations accept a simple two-wire connection at the wall-control terminals; others use an encrypted console and need the hub paired by radio or through a small adapter. Sending a photo of the button and the label ahead of the visit lets the technician arrive with the right hardware.
My opener already has a wireless symbol on it. Do I still need a hub?
Probably not. An opener with a built-in radio needs only to be put into pairing mode, joined to your network and registered to your account; it reports door position from its own travel sensing, so no separate sensor is required either. The visit becomes configuration and testing rather than installation. The technician also checks that the unit has not been left tied to a previous owner and that its firmware is current.