Openers · Maryvale
Smart Garage Controller Setup in Maryvale
A contractor is coming to work in the garage on Thursday while you are away.
In plain words
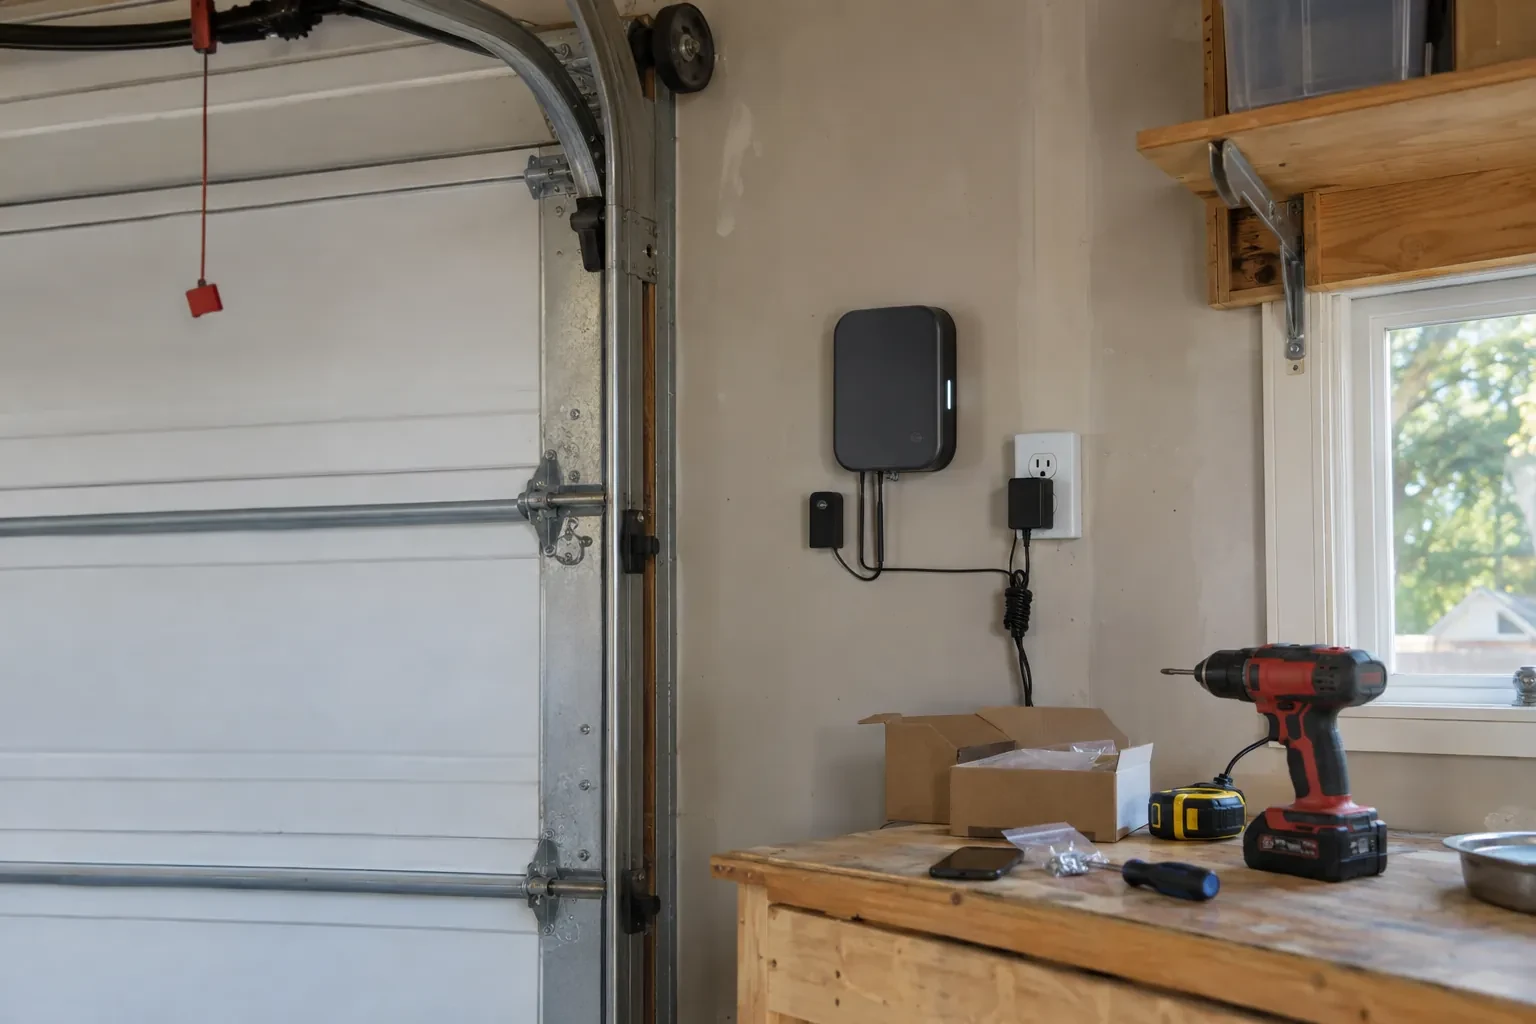
The account is the part of the install that lives longest, so it is set up in your hands rather than the technician's. You choose the email and password, you pick the recovery method, and you type them yourself while the technician guides you through the screens. Once the hub is on your network you name the door, decide which alerts you want, and invite the people in your household as users under your control. If the house came with a controller tied to a seller's account, it is reset and claimed fresh. The technician leaves with no login to your system, and you leave holding every key.
How the visit goesYour daughter gets home from school an hour before anyone else. She has lost two house keys this year, and the garage keypad code has been shared with half her class. You would rather open the door from your desk and know the moment she is in.
Smart Garage Controller Setup
How the visit goes
Who owns the account and who needs in
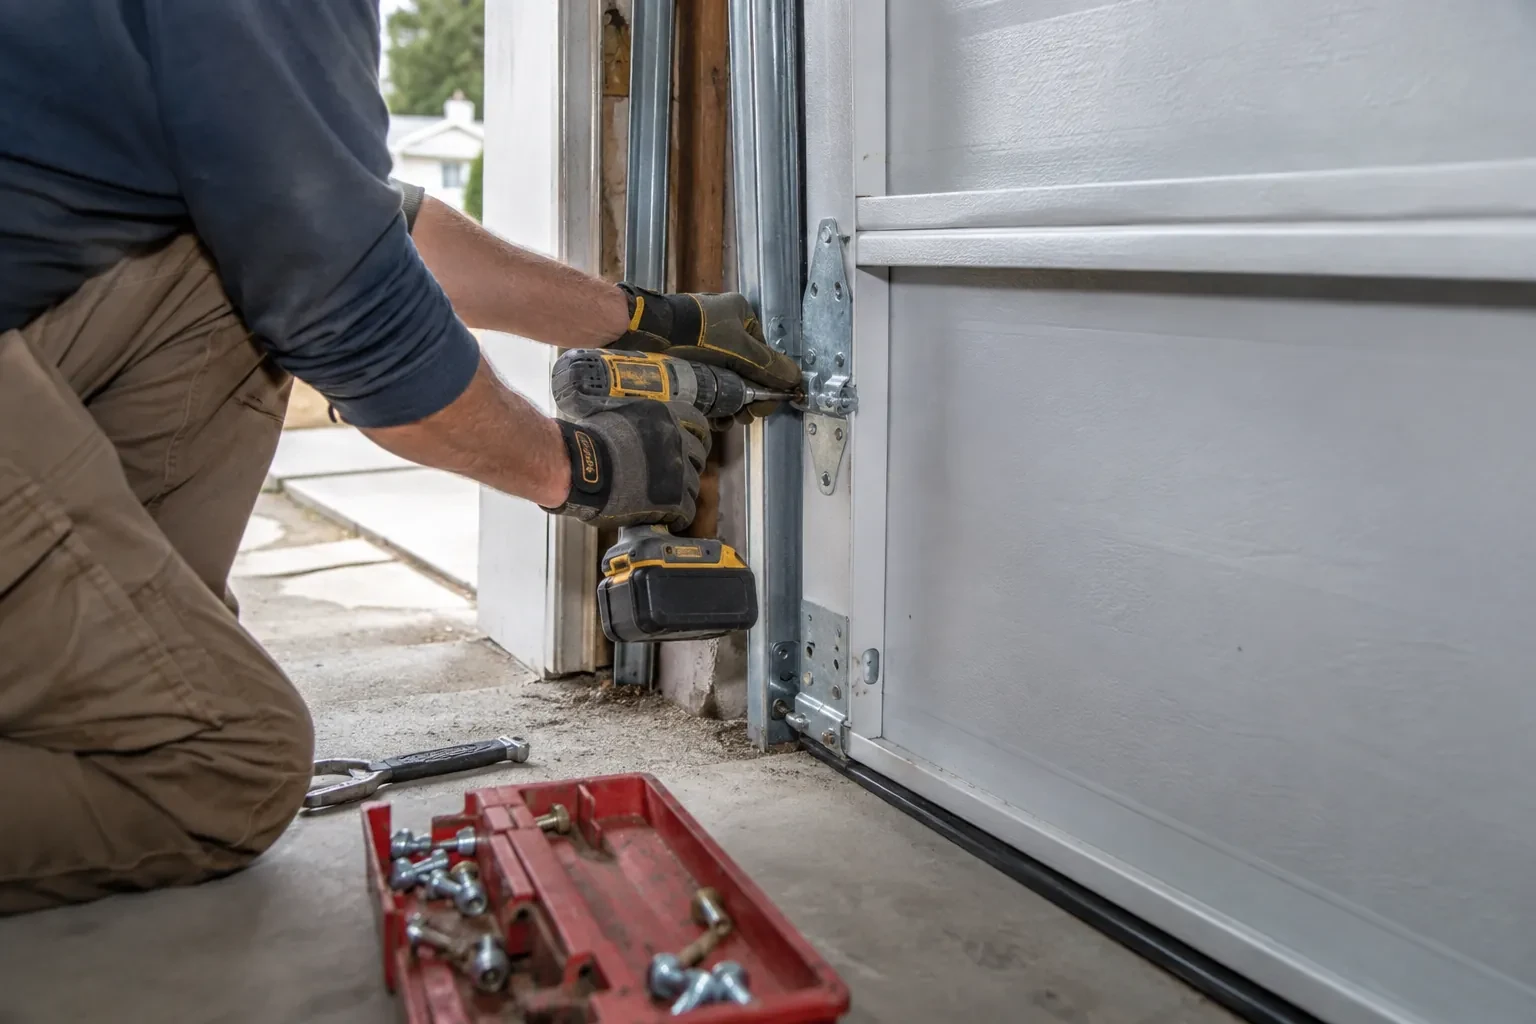
The last check is about people. The technician asks who in the household will hold the main account, which email it should live under, and which family members need everyday access as users. Anyone who should have temporary access, a cleaner or a contractor, is noted so that access can be set to expire. If the property came with a controller already installed, the app is checked to see whether it is still registered to the seller, which decides whether a reset and fresh claim is needed. Knowing all this before the hardware goes up means the account is built correctly once, in your name, with no loose ends.
Switching on a built-in radio
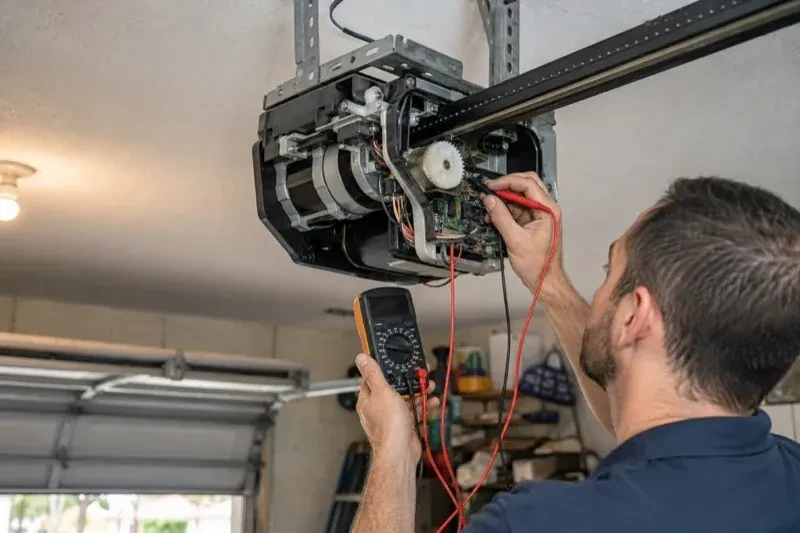
When the opener has its own wireless radio, the work is mostly done at the head unit. The technician puts the opener into its pairing mode, usually by a button press or a sequence on the wall console, which broadcasts a temporary network the phone can see. Through the app the owner selects the home network and enters its password; the opener joins, its indicator turns steady, and the serial number from the label registers the device to the owner's new account. The technician then runs the door from the app and from the wall button to confirm position reporting matches the real door, and applies the firmware update the app offers before moving on to alerts and users.
Alerts that earn their place
You leave with a small set of notifications chosen on purpose rather than every option switched on. A left-open reminder after a set delay, a note when the door opens during hours nobody should be using it, and a message when a scheduled close has completed are the ones most households keep. If the alerts become noise, adjust the delays or turn one off rather than muting the app entirely, because a silenced app is the one that stays quiet on the night the door is up. The settings screen you were shown is where each of these lives, and changes take effect at once.
Smart Garage Controller Setup
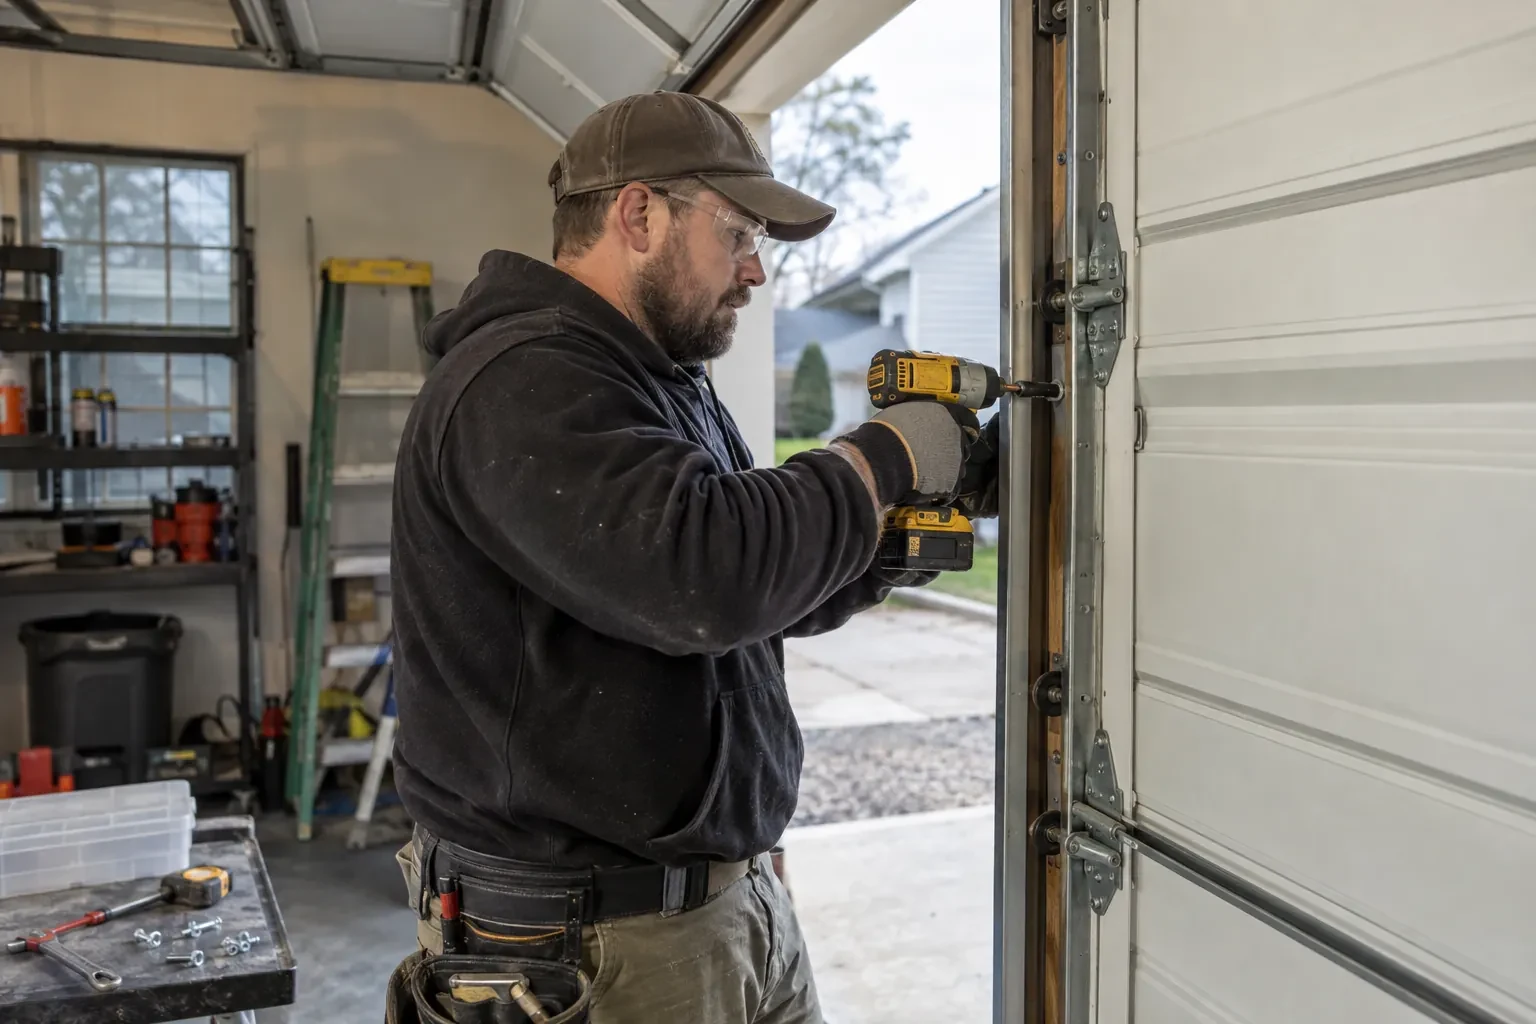
In the van
Replacement photo-eye pair
Retrofit smart hub
Receptacle splitter with approval mark
Low-voltage bell wire
Plug-in power adapter
Smart Garage Controller Setup
What affects the quote
Wireless coverage at the garage
A strong signal at the ceiling is a straightforward join. A weak one, common in detached garages, calls for an access point or extender, which is quoted separately.
Built-in radio or retrofit hub
An opener whose wireless radio is already inside needs configuration and testing. An older opener needs a hub, a sensor, wiring or radio pairing and the same testing, which is a longer visit with hardware.
Detached garage
A garage separate from the house often means both a signal problem and a longer walk for wiring and testing, and the quote reflects both.
What to have ready
- How many garage doors do you want connected?
- Which email address should the account be created under?
- Is there an existing controller on the ceiling from a previous owner?
Smart Garage Controller Setup: questions
QuestionsWhat should I have ready before the visit?
A photo of the label on the opener and of the learn button, your Wi-Fi network name and password to hand, the phone you will use with the app charged and updated, and the email address the account should live under. If the house came with an existing controller, any paperwork or the seller's contact details help. Knowing which family members need access saves time at the end.
What does the colour of the learn button tell you?
On many openers the learn button's colour marks the generation of radio coding the unit uses, which decides how a hub can talk to it. Some generations accept a simple two-wire connection at the wall-control terminals; others use an encrypted console and need the hub paired by radio or through a small adapter. Sending a photo of the button and the label ahead of the visit lets the technician arrive with the right hardware.
My opener already has a wireless symbol on it. Do I still need a hub?
Probably not. An opener with a built-in radio needs only to be put into pairing mode, joined to your network and registered to your account; it reports door position from its own travel sensing, so no separate sensor is required either. The visit becomes configuration and testing rather than installation. The technician also checks that the unit has not been left tied to a previous owner and that its firmware is current.