Openers · Don Mills
Smart Garage Controller Setup in Don Mills
A contractor is coming to work in the garage on Thursday while you are away.
In plain words
By the end of the visit your phone shows the door's true state, updates within a few seconds of any movement, and keeps a history of every open and close with the time, and the user when the command came from a signed-in app or virtual key. You can open the door for a delivery from the office, let a relative in for the weekend, and get a nudge if the door is still up at bedtime. Your remotes, keypad and wall button carry on exactly as before. And you understand the system well enough to add a user, change an alert or swap the sensor battery without calling anyone.
How the visit goesA smart hub arrived in the mail with a coin-cell sensor and two wires. The instructions ask what colour your learn button is and how old the opener is. Yours is over a decade old and the button colour is not on their chart.
Smart Garage Controller Setup
How the visit goes
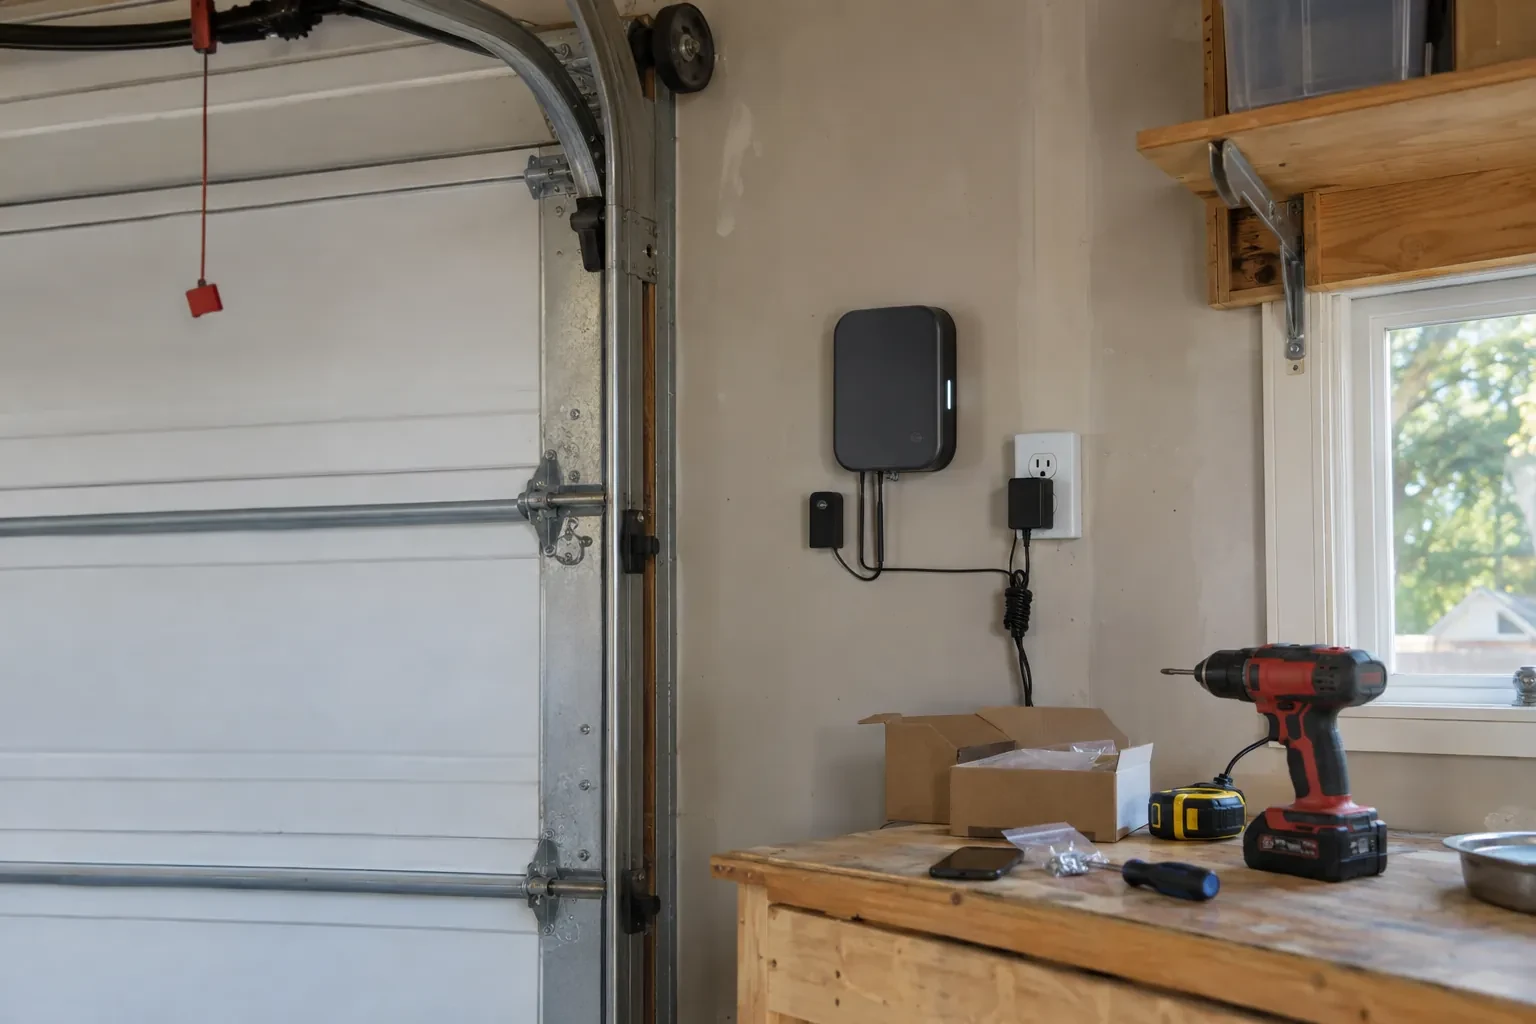
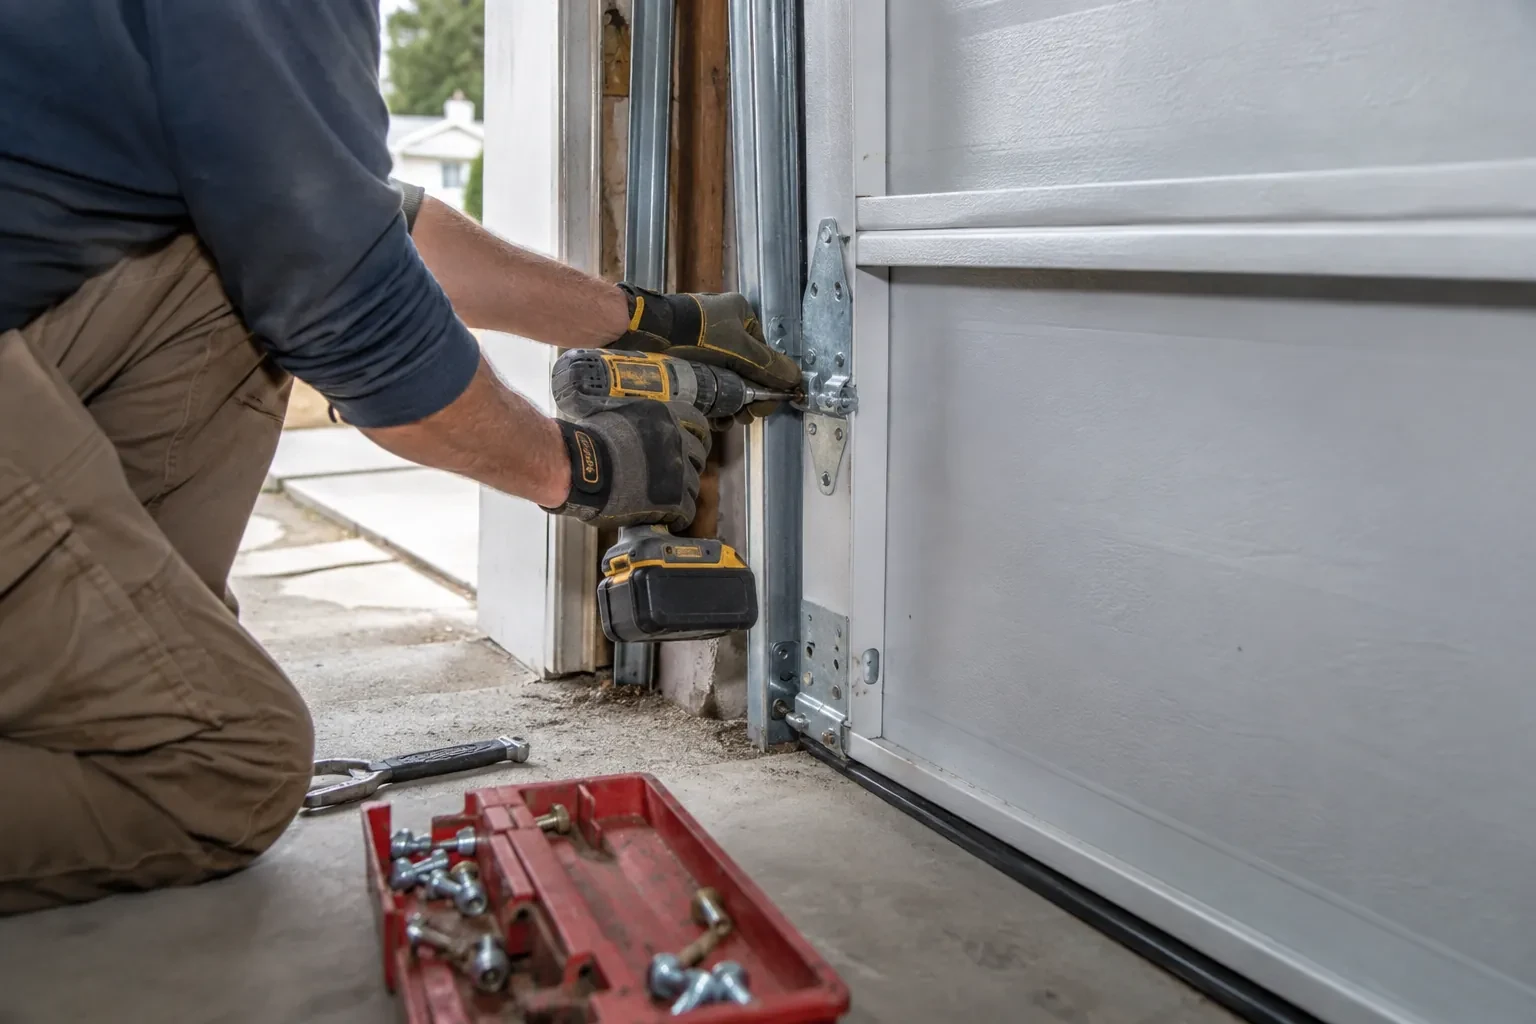
Photo eyes, present and working
Remote closing is the feature most people want, and it rests on the pair of small sensors near the floor on each side of the door. Before any controller is fitted the technician confirms both eyes are present, mounted no higher than about fifteen centimetres, aligned so their indicators glow steady, and wired without breaks back to the head unit. A controller built to the operator standard will not offer an out-of-sight close without a working sensor circuit, so any missing, misaligned or failed pair is corrected as part of getting ready. This is also where sun glare, cobwebs, frost and a shovel leaning against a bracket are noticed and dealt with.
Switching on a built-in radio
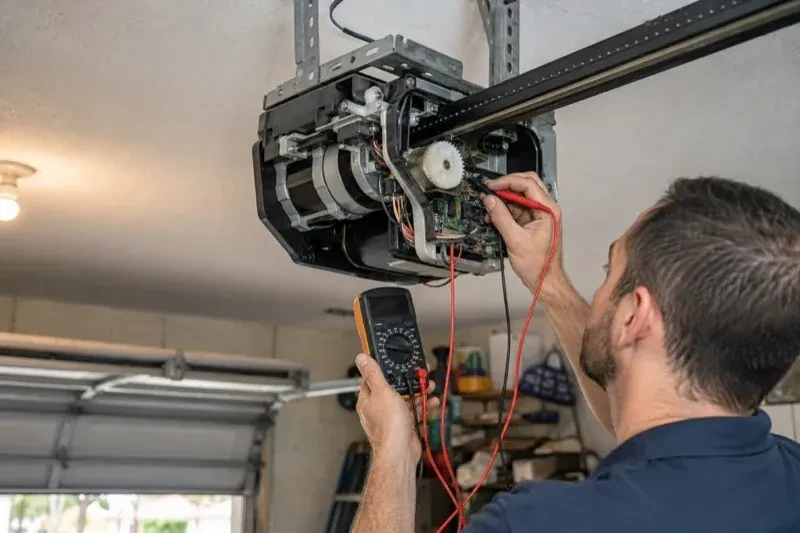
When the opener has its own wireless radio, the work is mostly done at the head unit. The technician puts the opener into its pairing mode, usually by a button press or a sequence on the wall console, which broadcasts a temporary network the phone can see. Through the app the owner selects the home network and enters its password; the opener joins, its indicator turns steady, and the serial number from the label registers the device to the owner's new account. The technician then runs the door from the app and from the wall button to confirm position reporting matches the real door, and applies the firmware update the app offers before moving on to alerts and users.
The monthly tests still matter
Adding a controller changes nothing about the physical checks the door needs, and adds one. Each month, lay a 2x4 flat under the door centre and close it; it must reverse on contact. Break the photo-eye beam with a broom handle while closing; it must stop and rise. Then close the door from the app out of sight, and listen for the beeper and watch for the light before movement. If any of the three fails, stop using the opener, move the door by hand only if it must move, and have a technician correct it before the opener is used again. These tests take a couple of minutes and are why remote closing can be trusted.
Smart Garage Controller Setup
In the van
Replacement photo-eye pair
Retrofit smart hub
Receptacle splitter with approval mark
Low-voltage bell wire
Plug-in power adapter
Smart Garage Controller Setup
What affects the quote
The opener's generation
Some openers accept a two-wire connection at the wall-control terminals; others use encrypted consoles and need radio pairing or a small adapter between hub and opener. The learn button and label decide which.
Power for the hub
The hub plugs into the opener's ceiling receptacle. If there is no spare socket, an approved splitter or a receptacle added by an electrical contractor becomes part of the plan.
Door and opener condition
A heavy, binding or badly balanced door is corrected before a controller is added. That door-side work, from rollers to spring adjustment, is quoted on its own.
What to have ready
- How strong is your phone's Wi-Fi signal when you stand under the opener?
- Is there an existing controller on the ceiling from a previous owner?
- What colour is the learn button under the opener's light cover?
Smart Garage Controller Setup: questions
QuestionsWhat should I have ready before the visit?
A photo of the label on the opener and of the learn button, your Wi-Fi network name and password to hand, the phone you will use with the app charged and updated, and the email address the account should live under. If the house came with an existing controller, any paperwork or the seller's contact details help. Knowing which family members need access saves time at the end.
What does the colour of the learn button tell you?
On many openers the learn button's colour marks the generation of radio coding the unit uses, which decides how a hub can talk to it. Some generations accept a simple two-wire connection at the wall-control terminals; others use an encrypted console and need the hub paired by radio or through a small adapter. Sending a photo of the button and the label ahead of the visit lets the technician arrive with the right hardware.
My opener already has a wireless symbol on it. Do I still need a hub?
Probably not. An opener with a built-in radio needs only to be put into pairing mode, joined to your network and registered to your account; it reports door position from its own travel sensing, so no separate sensor is required either. The visit becomes configuration and testing rather than installation. The technician also checks that the unit has not been left tied to a previous owner and that its firmware is current.